This post may contain affiliate links, which means if you click a link and make a purchase, I may earn a small commission at no additional cost to you. See the full details here.
Vanilla Wafer Pencils – Easy Back to School Treats for Teachers and Kids
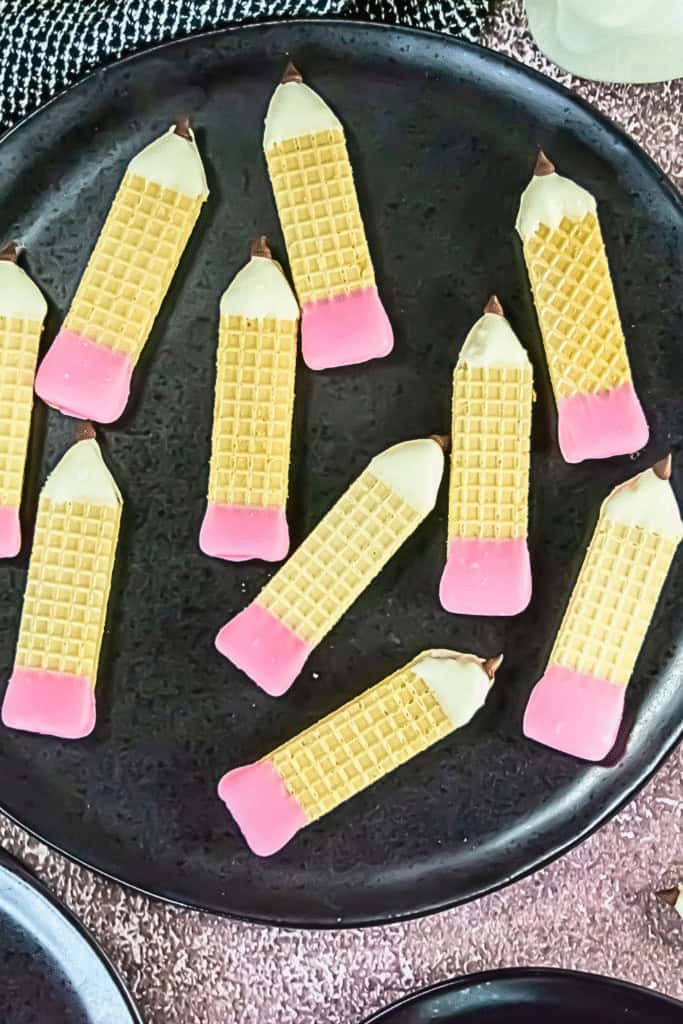
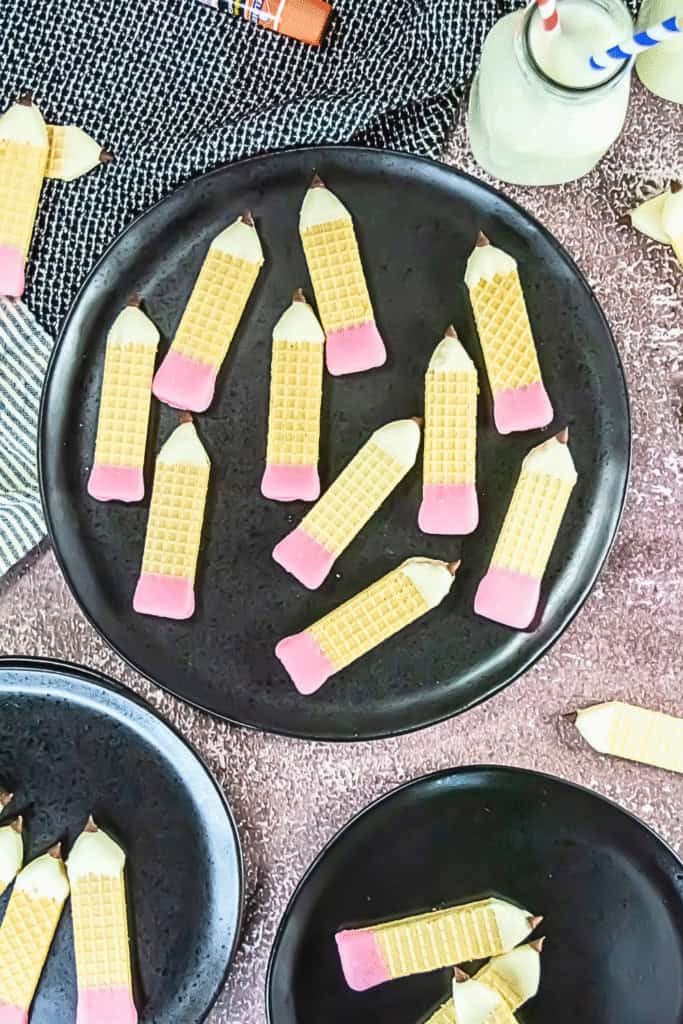
These Vanilla Wafer Pencils are the cutest back to school treats ever—and they’re way easier than they look.

Whether you’re a teacher prepping for Back to School Night, a parent sending sweet lunchbox surprises, or putting together teacher appreciation gift baskets, these edible pencil treats check all the boxes.
No baking required, and you only need a few ingredients to whip up a whole batch in 10 minutes.
I made these for my son’s first day of third grade, and they were a hit with his class and the staff. I even packed a few extra for his teacher with a little “Welcome Back” note and a gift card. It’s a simple gesture, but it makes the day feel extra special.
Recipe Facts
- Yields: 18–20 edible pencils
- Prep Time: 10 minutes
- Bake Time: None
- Difficulty: Easy
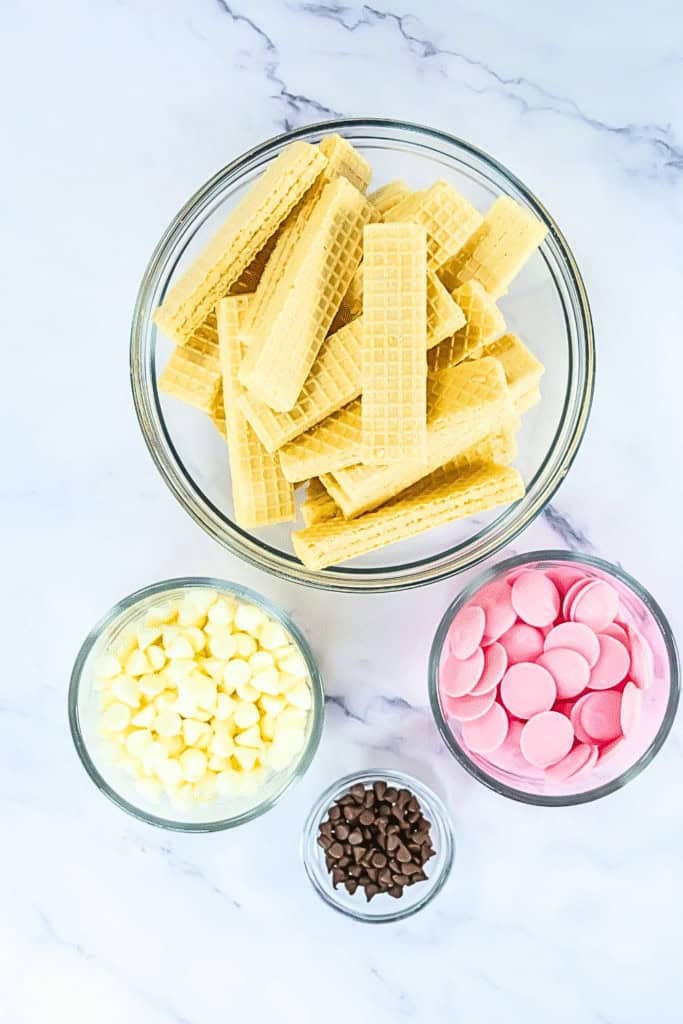
Ingredients You’ll Need
-
1 package sugar-free vanilla wafer cookies
-
¼ cup pink candy melts
-
¼ cup white chocolate chips (or white candy melts)
-
1 tablespoon mini chocolate chips
Step-by-Step Instructions
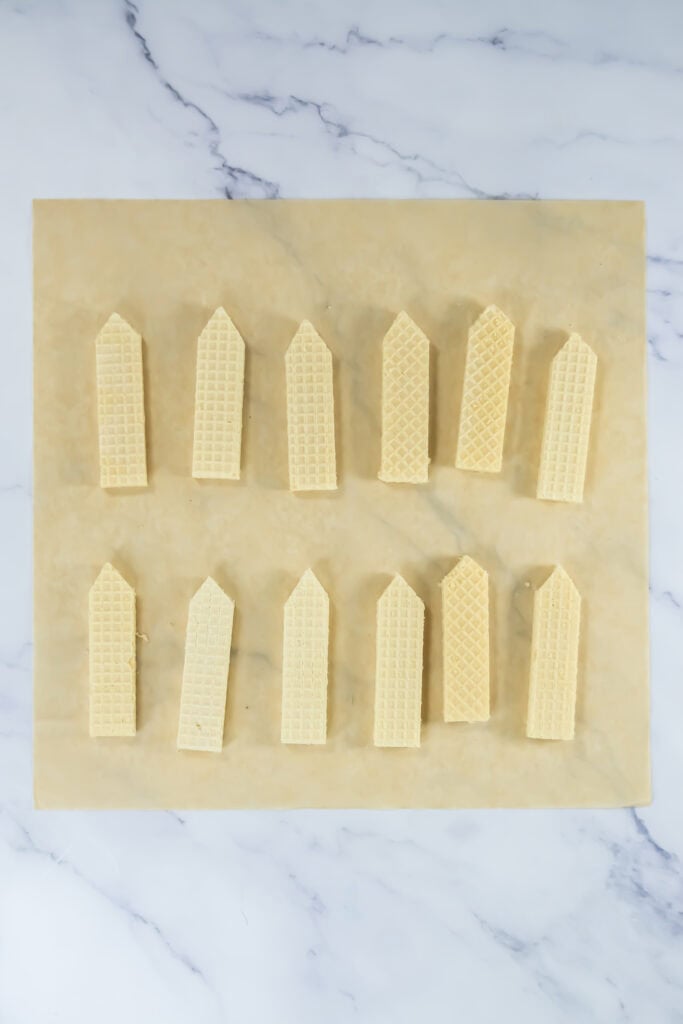
Step 1 – Set up your work area with a sheet of parchment paper so the “pencils” can dry cleanly.
Step 2 – Use a serrated knife to cut the corners off one end of each vanilla wafer, creating a pointed pencil tip.
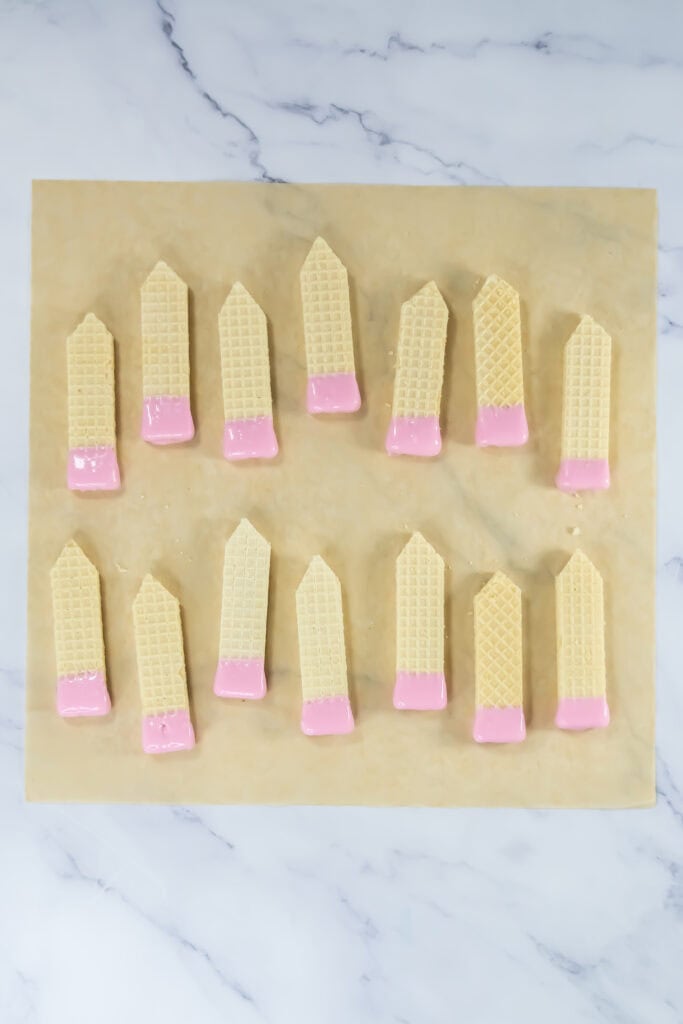
Step 3 – Melt the pink candy melts and dip the flat (non-pointy) end of each cookie to make the erasers. Let them set.

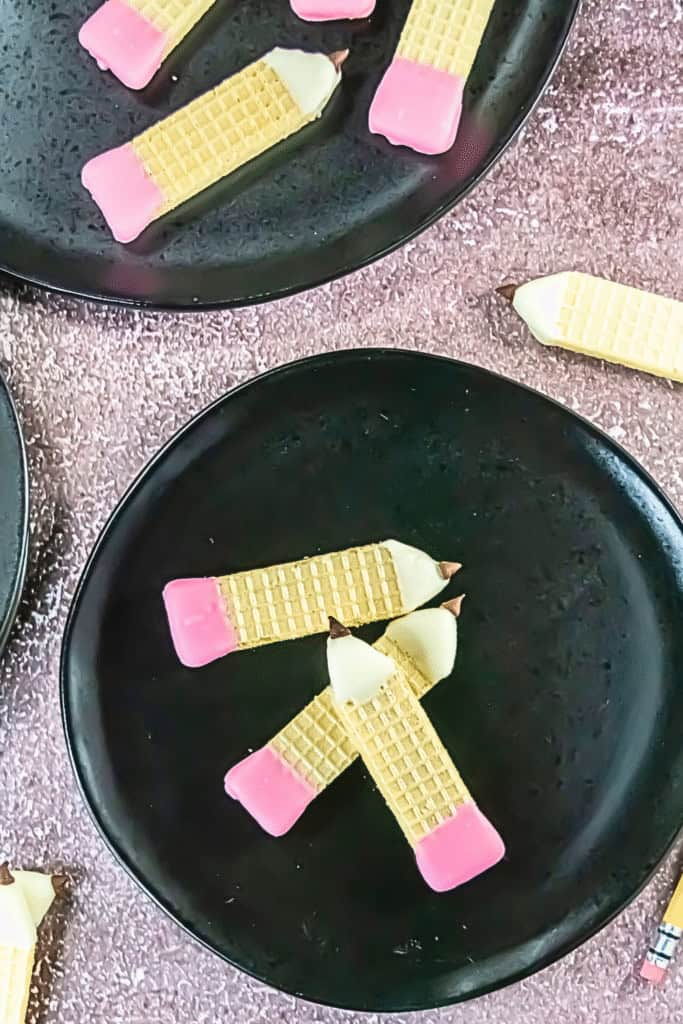
Step 4 – Melt the white chocolate chips and dip the pointy ends. While still wet, press a mini chocolate chip into the tip to look like pencil lead.
Step 5 – Let them dry on the parchment until everything is set and hardened. That’s it!
Pro Tips for Success
-
Don’t worry about making them perfect—once they’re dipped, they really look like little pencils.
-
Let each end dry fully before flipping them or moving them around.
-
These are great to make ahead for Back to School Night, teacher welcome gifts, or open house events.
-
Add them to first day of school gift bags or attach a cute tag for a staff lounge snack that stands out.
-
Want to go extra? Pair them with a handwritten note or a fun printable for a DIY teacher appreciation treat.
Storage Info
Store your vanilla wafer pencils in an airtight container for up to 1 week.
I kept mine in a sealed plastic container and they were still crunchy and cute several days later—perfect for prepping the weekend before school starts!
Cute, Edible Back to School Gifts You Can Actually Make
If you’re like me, you want to do something thoughtful but don’t have time for complicated crafts or recipes. These Vanilla Wafer Pencils are the ideal treat for:
-
Back to School Open House
-
Lunchbox surprises for kids
-
Teacher appreciation gift baskets
-
Staff room snacks
-
Classroom welcome gifts
-
Parent-led welcome tables
They also make a fun activity if you’re hosting a Back to School party with friends or prepping with your kids at home.
Final Thoughts
Back to school can feel overwhelming, but little moments like this—packing something thoughtful into a lunchbox or surprising a teacher with a homemade treat—make it more joyful.
These Vanilla Wafer Pencils were such a fun way to kick off third grade for us, and I’ll definitely be making them again for future school years. They’re quick, affordable, and just plain adorable.
Oh, and by the way…

if you’re planning a full-on Back to School celebration or just want to keep the school spirit going, I’ve got a bunch of fun printable games and teacher-themed activities for you to check out.
This new Lunch Box Notes Trivia game is perfect for back to school!
Go take a peek—they’re all designed to make school year celebrations easy and fun.