This post may contain affiliate links, which means if you click a link and make a purchase, I may earn a small commission at no additional cost to you. See the full details here.
Sweet Love Bites: Valentine’s Cake Pops Everyone Will Adore
Love is in the air—and in every bite of these adorable Valentine’s Cake Pops!
These sweet, colorful treats are perfect for Valentine’s Day parties, romantic date nights, school events, or just spreading a little love at home.
They’re easy to make, fun to decorate, and guaranteed to steal hearts (and taste buds!).
Whether you’re hosting a Galentine’s get-together or gifting something homemade to someone special, these cake pops are a total win.

Ingredients You’ll Need For This Recipe:
Yield: Approximately 20 cake pops
Total Time: 2 hours (including cooling time)
Ingredients:
- 1 cake mix (9×13 inch) — any flavour you like (approximately 3-4 cups crumbled)
- 1 tub (15.6 oz) of Betty Crocker ready frosting (any flavour that complements your cake)
- 20 lollipop sticks
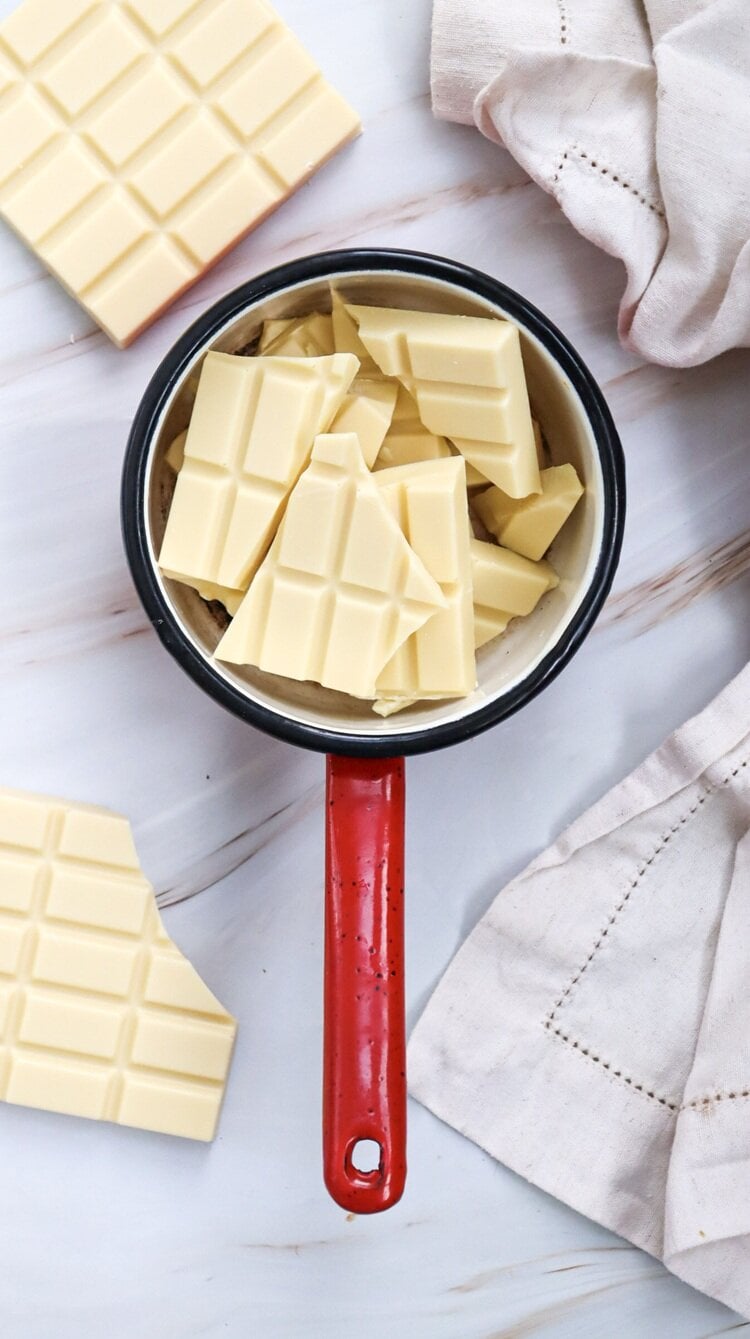
- 12 oz white chocolate chips or melting white chocolate
- Pink or red food colouring
- Heart-shaped chocolates or icing for decoration
- 2 tbsp sprinkles of your choice
- Icing for writing messages (optional)

Step-by-step Guide:
1 – Bake a cake according to the package instructions or your favourite recipe.
2 – Allow it to cool completely.
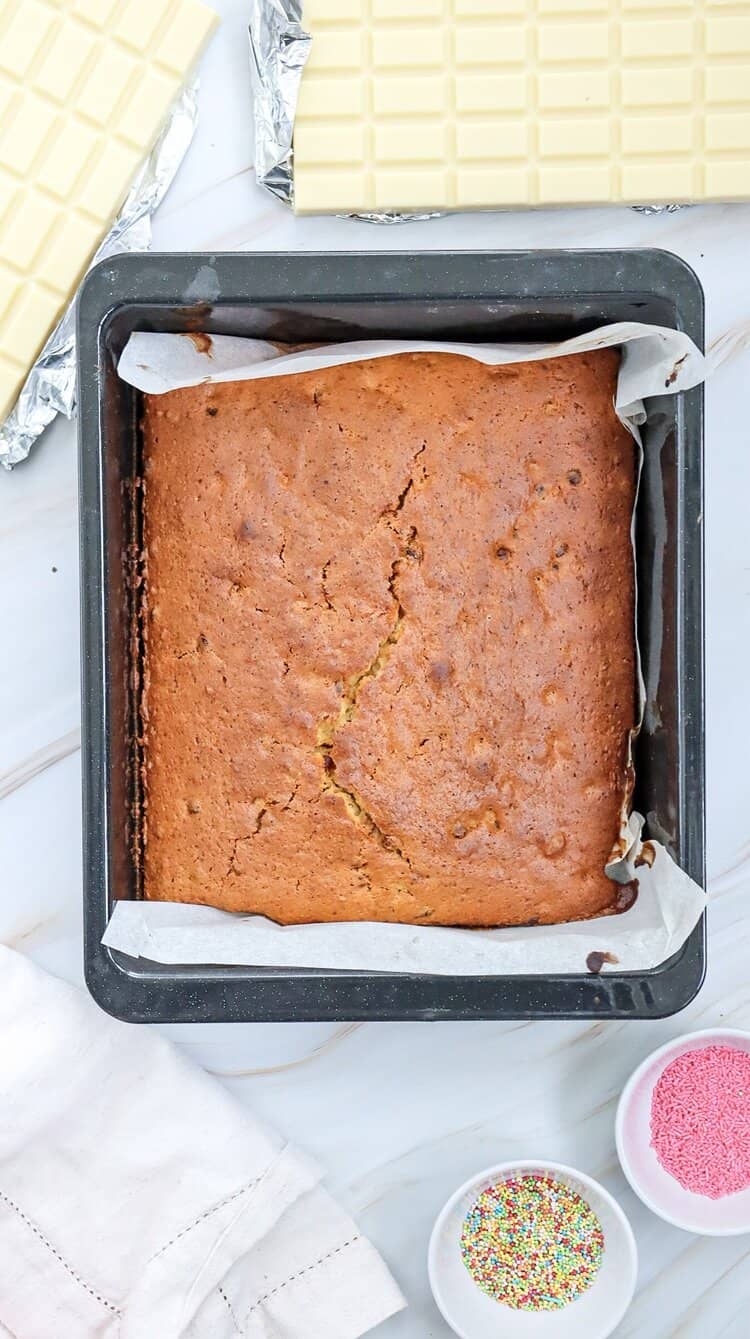
3 – Once the cake is cool, crumble it into a large mixing bowl. Ensure it’s completely crumbled with no large pieces.
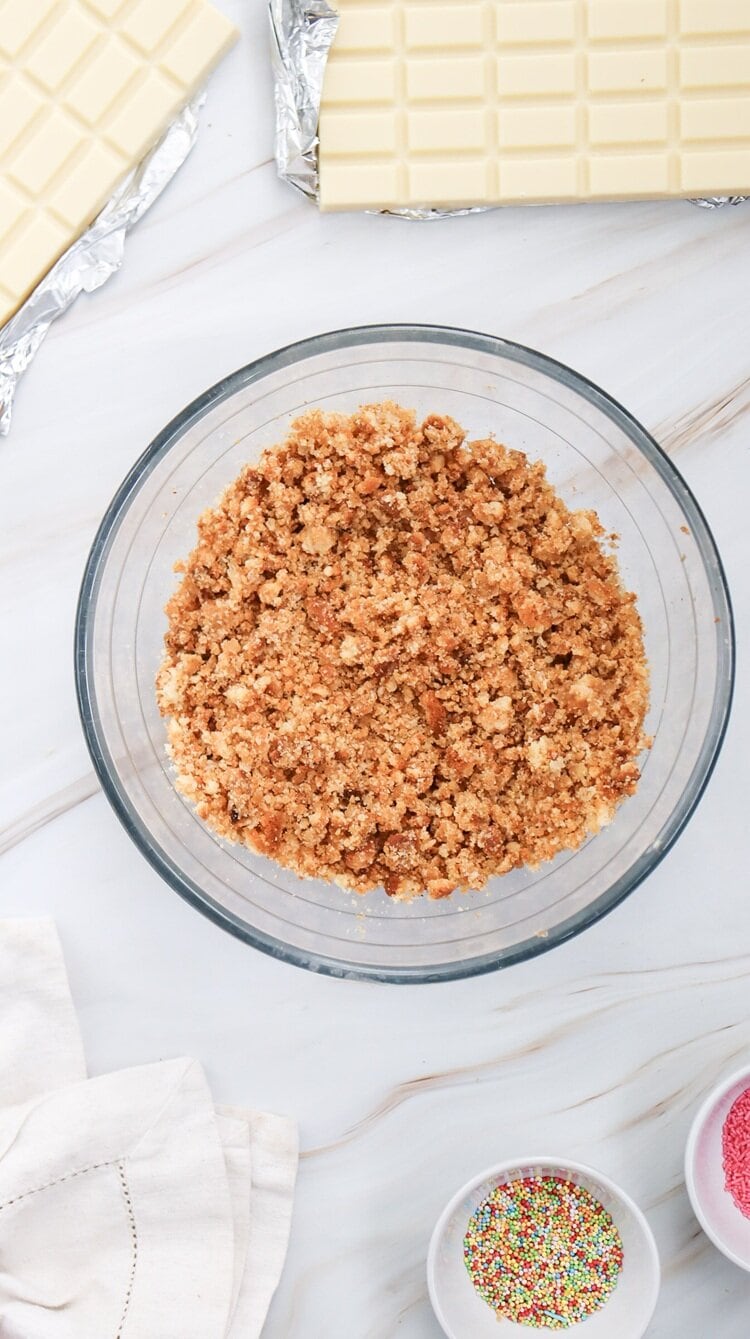
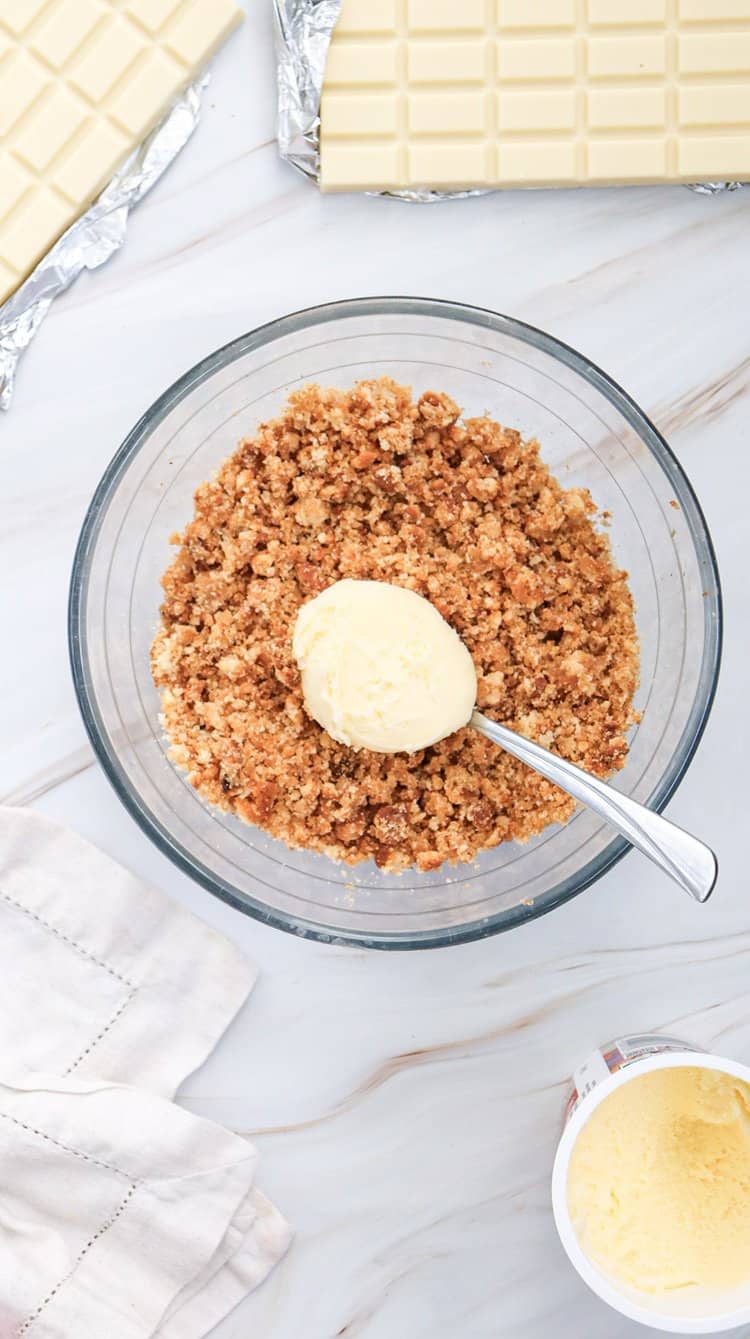
4 – Add the entire tub of Betty Crocker frosting to the crumbled cake. Mix well until everything is combined and you can form a dough that holds together.
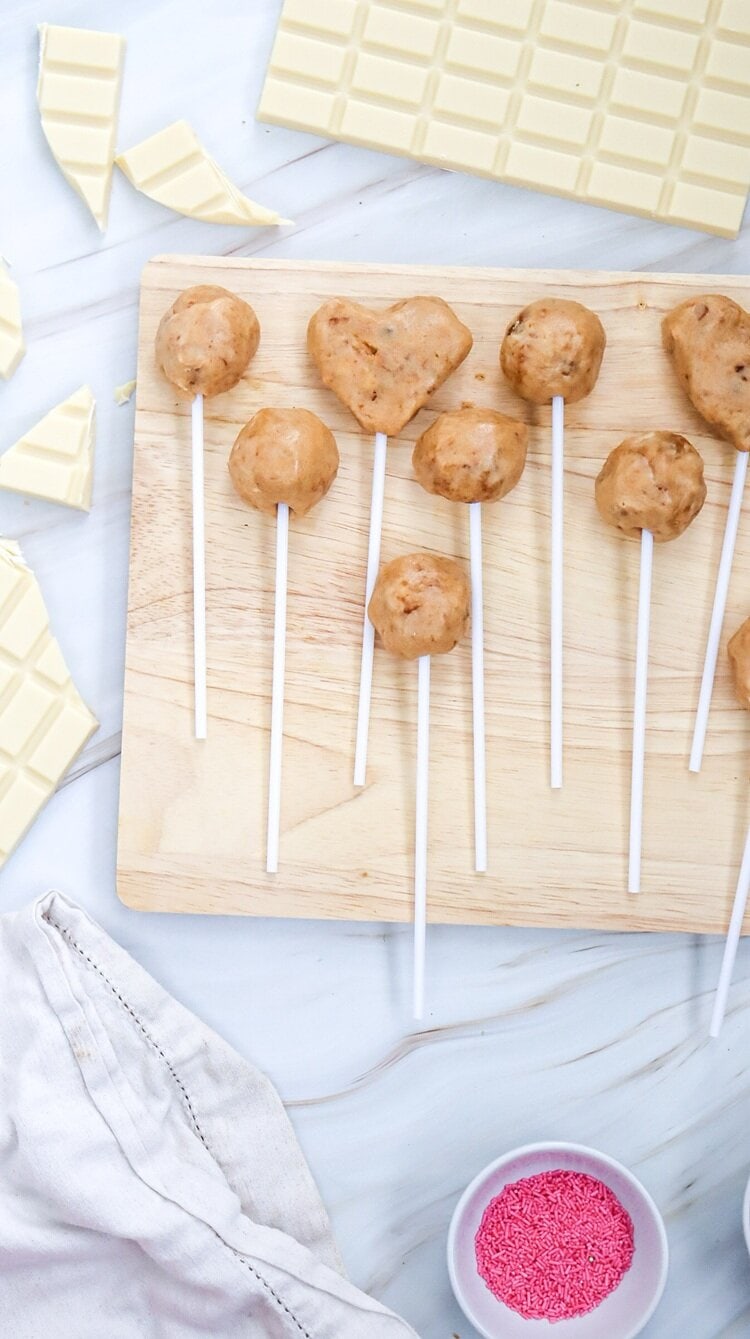
5 – Using your hands, roll the mixture into small balls, about 1-inch in diameter. You should have about 20 balls.
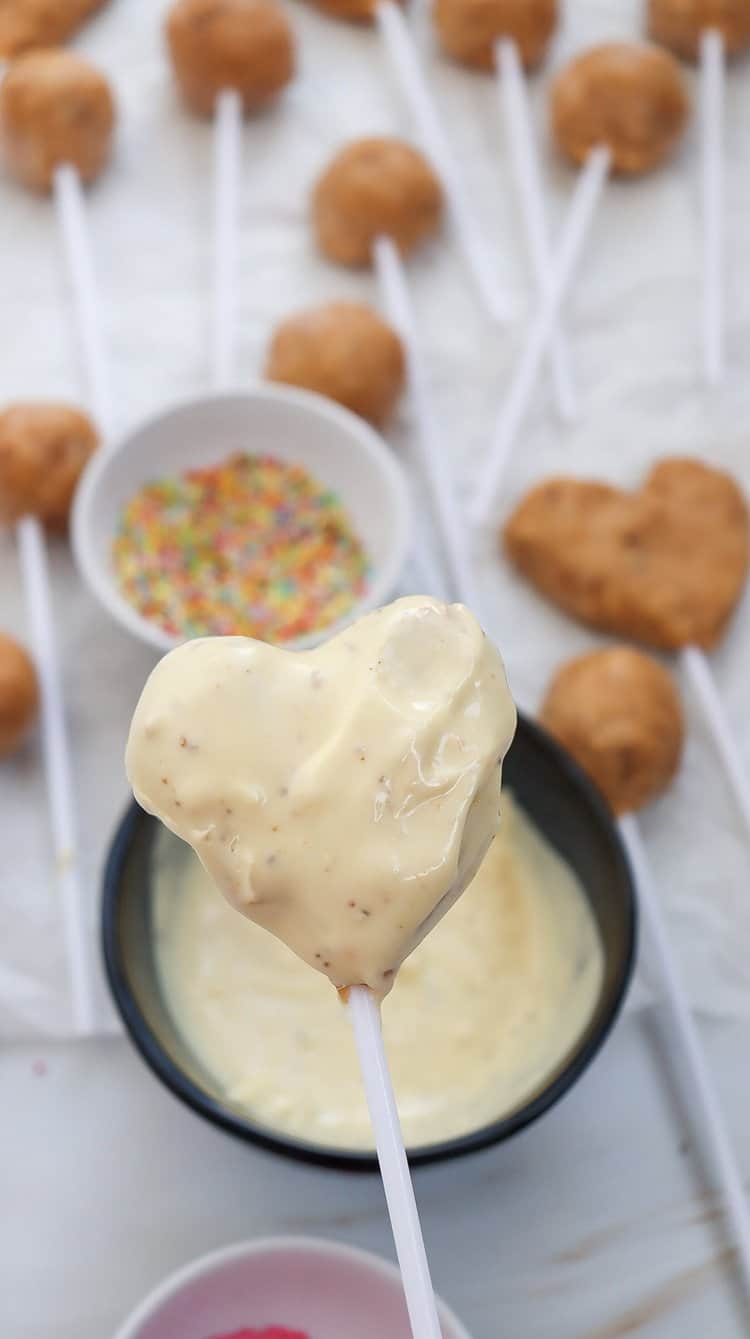
For a special touch, take some of the mixture and shape them into heart shapes instead of round balls.
6 – Place the heart-shaped and round cake balls on a baking sheet lined with parchment paper.
7 – Once formed, refrigerate them for about 30 minutes to firm up.
8 – Melt a small amount of white chocolate (about 1 oz) in the microwave.
9 – Dip the end of each lollipop stick into the melted chocolate and then insert it into the center of each cake ball.
10 – Place the heart-shaped and round cake balls on a baking sheet lined with parchment paper.
11 – Once formed, refrigerate them for about 60 minutes to firm up.
12 – In a microwave-safe bowl, melt the remaining white chocolate (11 oz) according to package instructions until smooth.
13 – Do this in 30-second intervals, stirring in between to prevent burning.
14 – Divide the melted white chocolate into two bowls.
15 – Leave one bowl as is for white chocolate and add pink food colouring to the second bowl, mixing until you reach your desired shade.
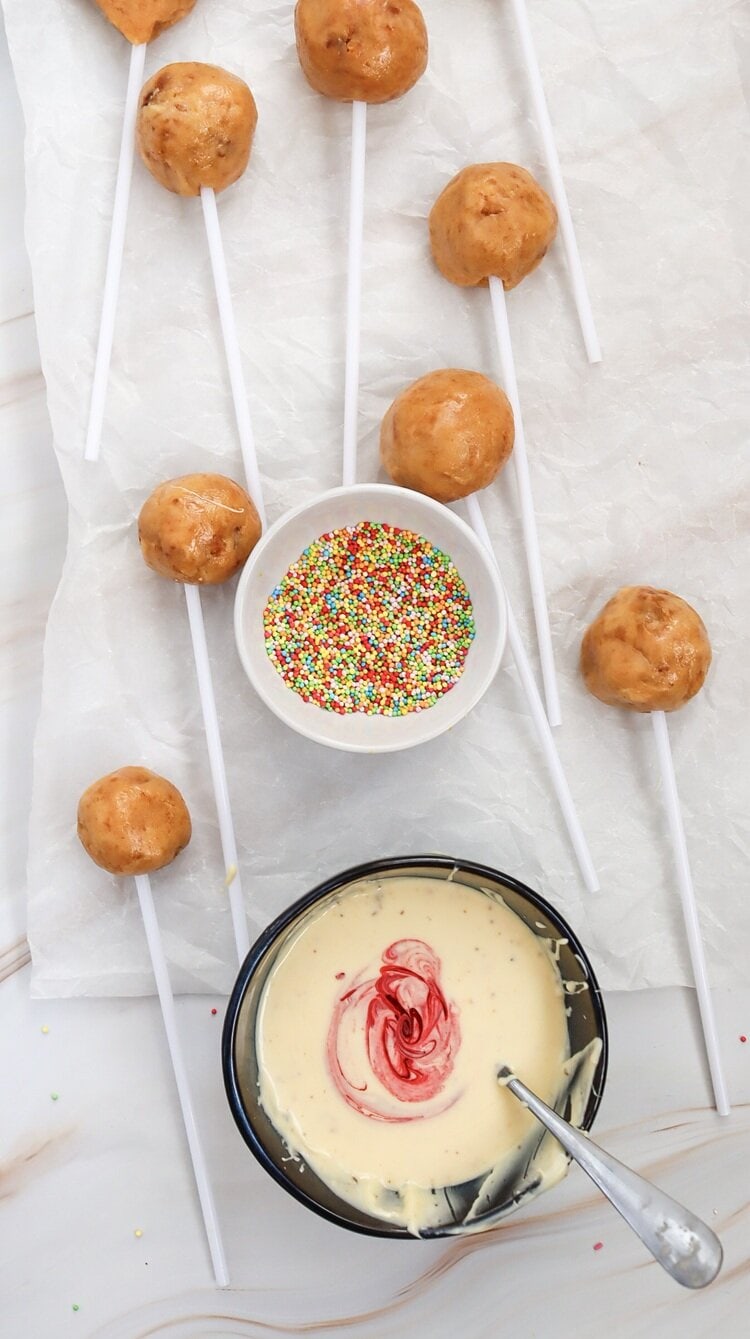
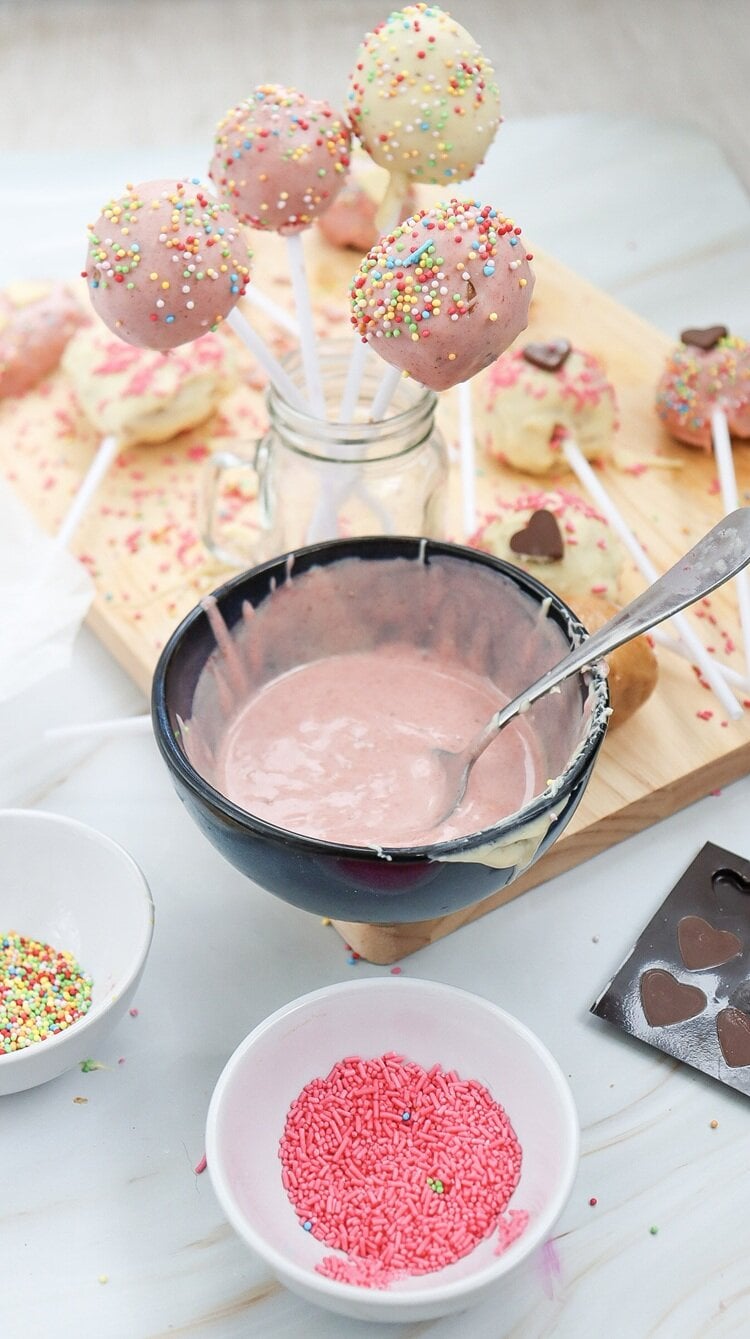
16 – Dip some cake pops into the bowl of melted white chocolate, ensuring they are fully coated. For other cake pops, dip them into the pink chocolate until fully coated.
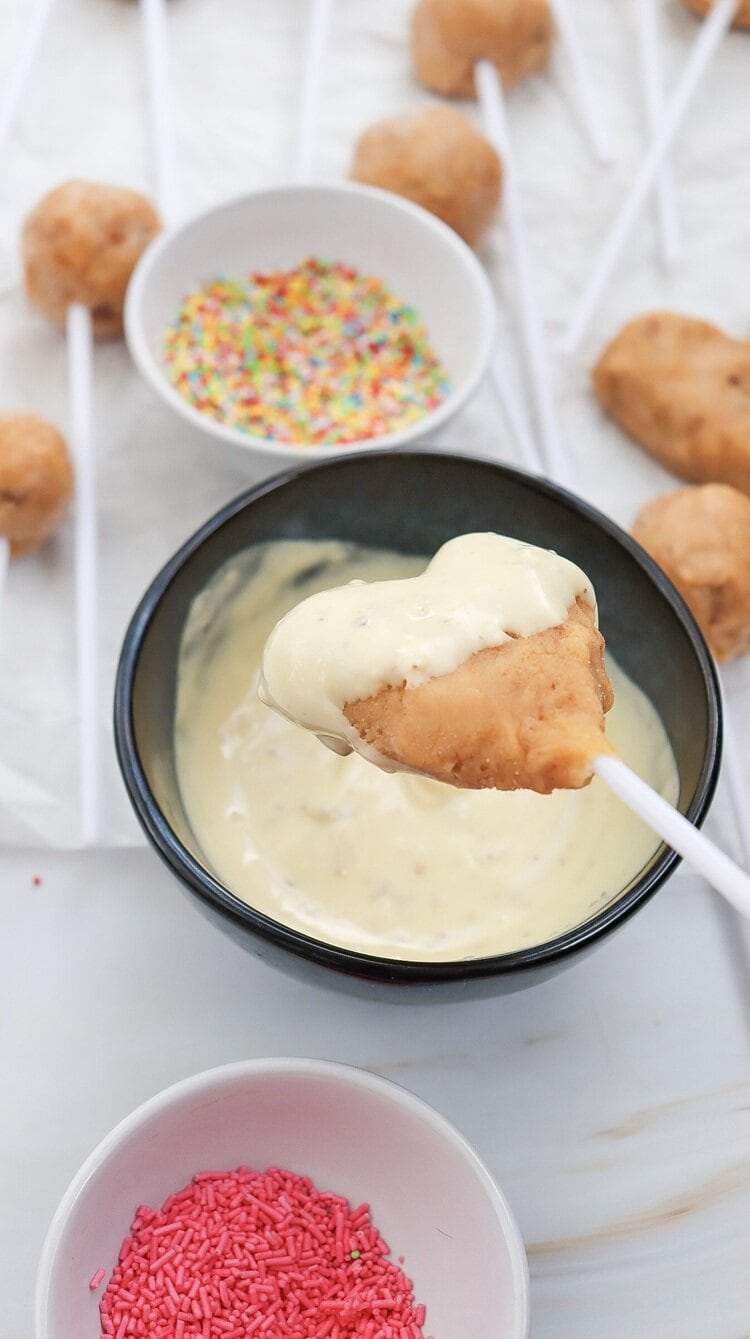
17 – Allow excess chocolate to drip off.
18 – Place the dipped cake pops back on the lined baking sheet and let them cool completely at room temperature or in the fridge for about 15-30 minutes until the chocolate hardens.
19 – Once the chocolate is set, decorate with heart-shaped mini chocolates, sprinkles or use icing to write sweet messages on the pops.
20 – Once decorated, your Valentine’s cake pops are ready to be enjoyed. Enjoy sharing them with friends, family, or that special someone!
Pro Tips for Success:
-
Chill Time Counts: Make sure your cake balls are nice and cold before dipping—this keeps them from falling off the stick.
-
Use a Styrofoam Block: After dipping, stick the pops upright in Styrofoam or a cake pop stand so they dry evenly and stay perfectly round.
-
Try Different Flavors: Red velvet with cream cheese frosting is a classic Valentine’s combo, but chocolate or strawberry cake mixes are just as dreamy.
-
Add Texture: Mix in crushed cookies, nuts, or freeze-dried strawberries for an extra surprise inside.
-
Use Melting Wafers for Easy Coating: They melt smoother than chocolate chips and give a shiny finish.
-
Make It Diet-Friendly: Swap frosting for low-fat Greek yogurt or use a gluten-free cake mix to suit different needs.
-
Double the Fun: Dip some cake pops in white chocolate and drizzle pink over them—or vice versa—for a two-tone effect.

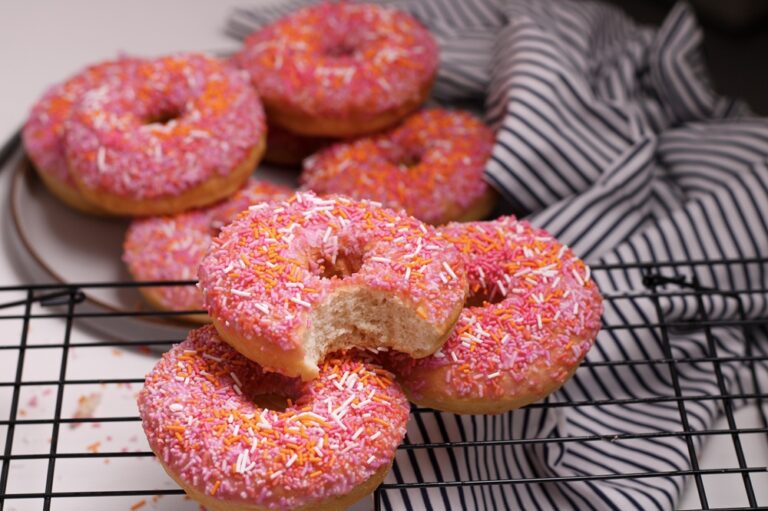
These Valentine’s Cake Pops are pure joy on a stick—easy, festive, and oh-so-delicious!
They’re perfect for Valentine’s Day dessert tables, classroom treats, or just sharing a little love with family and friends.
Whip up a batch, decorate to your heart’s content, and watch smiles bloom with every bite.